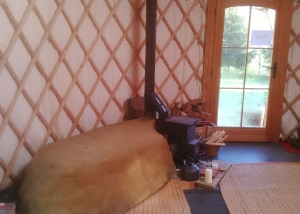
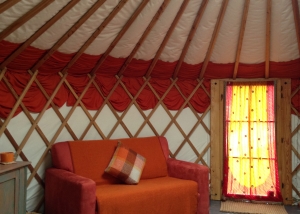
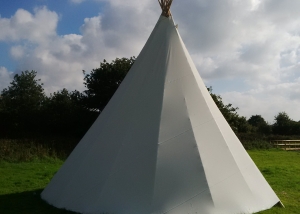
Our yurt cob stove is finally up and running (it has been for months but I was too busy to post this). Instead of the heat disappearing straight through the chimney, we have approx. 5 metres of flue pipe going through the cob before re-joining the flue which then goes out of the roof. This means the heat, which would otherwise be lost, is retained and slowly released into the yurt, through the cob thermal mass. Alongside the insulation, this makes the yurt a comfortable place to be even when it’s below zero outside. So we now have a warm and cozy place to retreat to, to refresh and rejuvenate ourselves in the heart of Mother Nature.
What we’ve learned from doing this – It’s fun and anyone can do it. I did the majority of this with my 13 and 15 year old children. Do it in the warmer, drier months rather than in Winter like we did. It will dry much quicker if you do. I had to dry it by lighting the stove and this resulted in slight cracking of the cob due to drying too quickly. All easily repairable but still, do it in the summer ready for the Winter. Incorporate stone, bricks etc into the cob which provide thermal mass, provide some structure for the cob to stick to and mean you won’t need to make up as much cob mix. Do a test run of the stove and flue prior to building the cob. We had to modify the stove by fitting a damper so we could first warm up the vertical flue to get enough draw to then allow us to close the damper, sending the heat through the horizontal flue (going through the cob) before re-joining the vertical flue.
The making of the cob cost us nothing but a few hours of wellie stomping fun whilst mixing it. The sand was left over from another job, the clay was dug out for the foundations of a local eco build, and the straw is old animal bedding. We’ll soon be adding the PV for lighting and a little power and hopefully a wood fired/solar shower too. Viewing is welcomed by appointment.


